 |
|
|
RapidPrint Year Wheel Replacement Tutorial
The following is a simplified tutorial to replace the year wheel in a RapidPrint date stamp machine. These instructions
are provided for the benefit of our customers. We do not recommend that the customer do this themselves but provide this
as an aid.
1) Unplug the RapidPrint unit from the wall
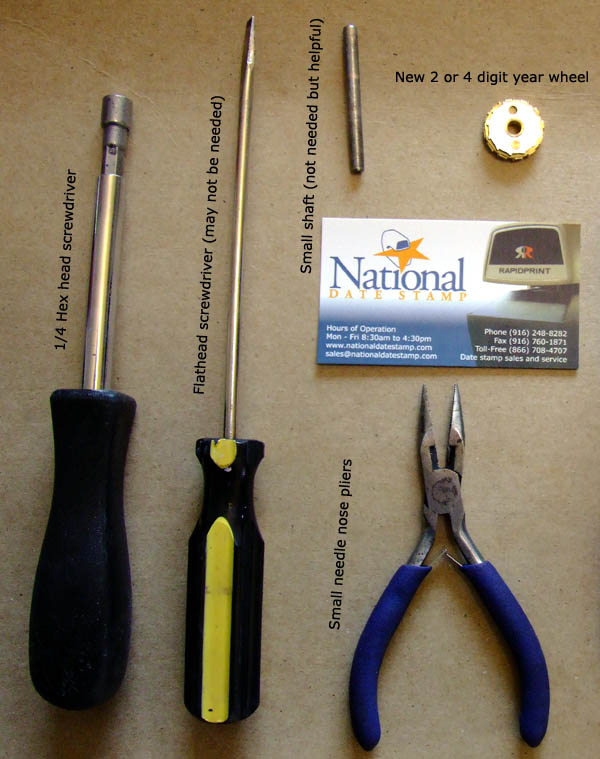
2) The above image shows the tools that will be needed for the job

3) Remove the two 1/4 hex screws that keep the RapidPrint head assembly in place
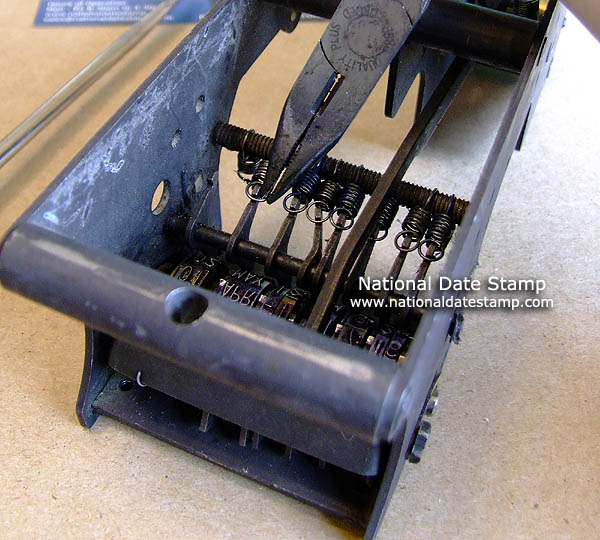
4) Loosen all of the springs that hold the wheel pawls in place. Be gentle not to over existend the springs.

5) Loosen the 1/4" hex screw or flat head screw that holds the wheel shaft in place. Once the screw is loose, you can
rotate the lock arm
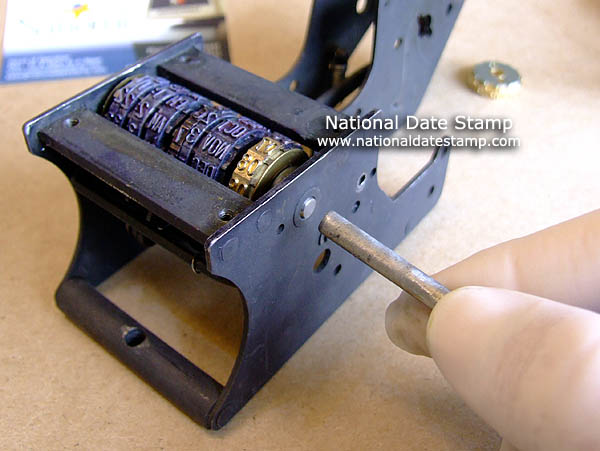
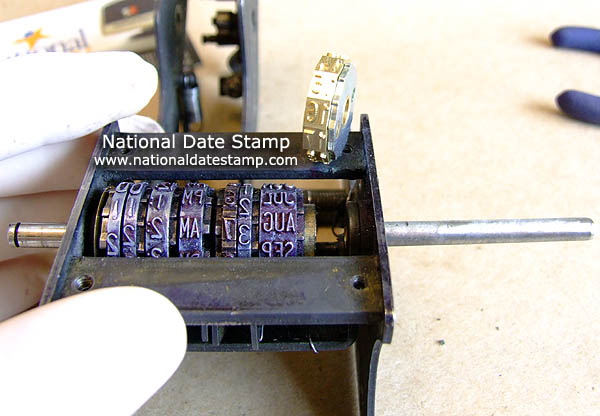
6) Use a similar sized shaft to push the existing shaft partially out
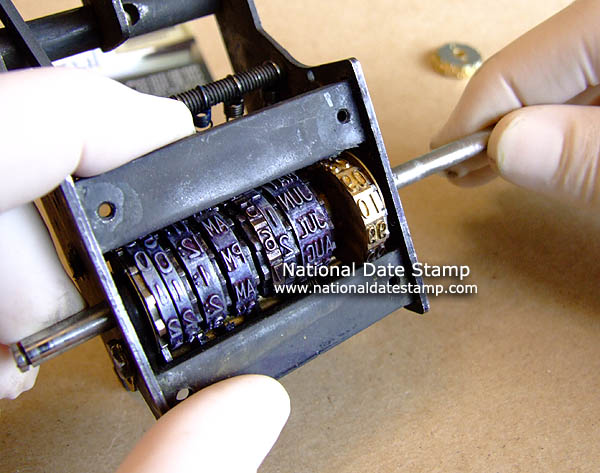
7) With the shaft partially out, the year wheel can be removed from the RapidPrint
8) The new year wheel can now be put in place filling
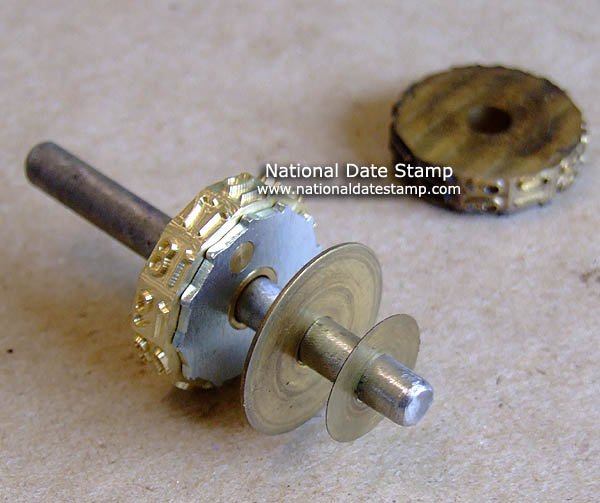
9) With the new year wheel please make certain that the washers are put back in the order they came out. This
image illustrates how the larger washer is directly next to the year wheel followed by any smaller washers after that.
10) Reverse all steps to complete the work and test out your RapidPrint
Click here to order or ask questions on RapidPrint parts
|
|
|
|
